


How Backcountry Skiing Works: From Skinning Up to Skiing Down
Ever wondered how backcountry skiing works? Backcountry skiing combines human-powered travel with off-piste descents, meaning you earn your turns by skinning uphill, then transition your setup to ski down fresh lines. Unlike resort skiing, there are no lifts, no patrol, and no marked runs, so understanding the basic risks is essential.
This guide breaks down the full process, from gear and movement techniques to avalanche safety gear, transitions, and practical tips so you can start learning how backcountry skiing works with confidence.
What Is Backcountry Skiing (and How It Differs from Resort Skiing)?
Backcountry skiing refers to skiing in snow in areas typically outside ski resort boundaries. The main differences from resort skiing are
- No lifts: You climb using your own power, with the help of climbing skins on touring skis or splitboards.
- No controlled terrain: Conditions vary widely and can change quickly. Snowpack, weather, visibility, and hazards all need to be considered.
- No patrol or avalanche mitigation: You’re responsible for route choices, rescue preparedness, and risk management.
Understanding how backcountry skiing works starts with accepting that it’s equal parts uphill travel, navigation, decision-making, and skiing. The downhill is the reward, but don’t neglect the uphill; that’s where most of the work happens.
The Core Gear That Makes Backcountry Skiing Work
Backcountry touring requires equipment that can climb efficiently and ski safely. A good starting point is exploring a collection of gear for backcountry skiing so you can see how skis, boots, bindings, skins, and safety equipment all work together. Here’s the basic breakdown of your backcountry setup.
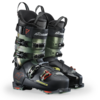
Touring Skis, Bindings, and Boots
- Touring skis: Often lighter than resort skis for easier climbing. Many touring skis have a “skin”-compatible base and a notch for attaching skins.
- Touring bindings: These allow a free-heel walking mode for climbing and a locked-heel mode for descending. Common categories are tech/pin bindings and hybrid bindings.
- Touring boots: Built with a walk mode (cuff articulation) for comfort while skinning uphill and stiffness for control while skiing down. Because fit is so critical for long days on skins, many skiers start by choosing the right pair of dedicated backcountry touring boots and then working with a bootfitter to fine-tune comfort and performance.
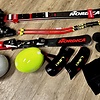
Climbing Skins (the Engine of Skinning Uphill)
Climbing skins are strips, typically nylon, mohair, or a mix, that stick to the bottom of your skis. The fibres are angled so they can glide forward, helping you move on snow, but they grip backward to prevent you from sliding. That’s the magic behind skinning uphill:
- Forward glide: You can slide your ski forward like walking.
- Backward resistance: The fibres "bite" the snow to prevent it from slipping.
Skins attach using tip and tail hardware and an adhesive (or adhesive-free system) that grips the ski base.
Poles, Layers, and Essentials
- Adjustable poles: Useful for changing terrain angles and transitions.
- Layering system: Breathable uphill layers, plus insulation and a shell for wind and cold.
- Navigation: Map/GPS app, compass, and a pre-planned route that matches conditions.
- Repair and emergency kit: multi-tool, ski straps, spare parts, headlamp, first aid, and extra warmth in case of emergency.
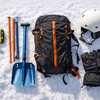
Avalanche Safety Gear (Non-Negotiable in the Backcountry)
If you are in the backcountry, avalanche safety gear is essential. The standard kit includes:
- Avalanche transceiver (beacon): Worn on your body; used to locate buried partners.
- Probe: Collapsible pole used to pinpoint burial location and depth.
- Shovel: metal blade is preferred for efficient excavation in dense avalanche debris.
If you’re building your first kit, browsing a specialized collection of avalanche safety gear can help you compare beacons, probes, shovels, and packs in one place.
Many skiers also choose an airbag pack for added protection, but it does not replace good decision-making or learning the information above. Carrying the gear isn’t enough; you need the skills and the knowledge to use it effectively under stress.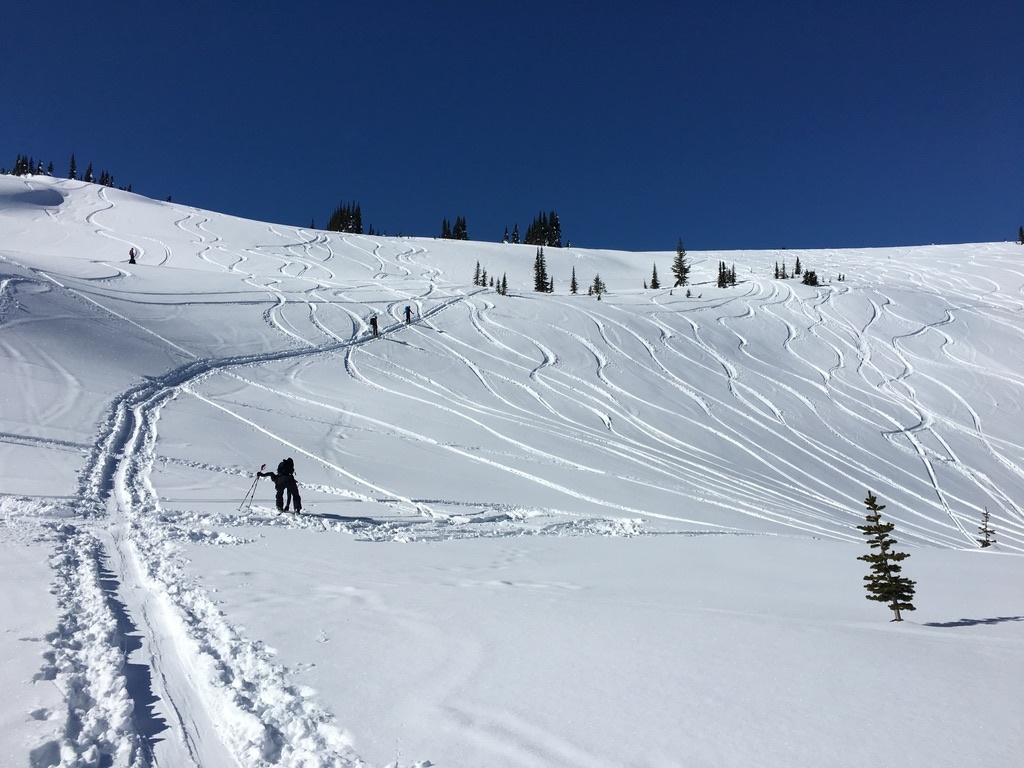
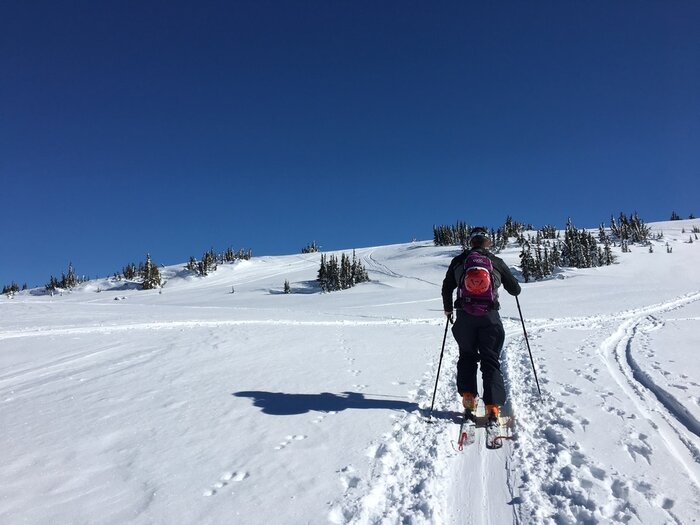
Step-by-Step: How Skinning Uphill Works
The uphill is where backcountry skiing differs greatly from resort skiing. Efficient skinning uphill is about traction, pacing, and choosing the right line.
1) Set Your Bindings to “Walk Mode”
In tour mode, your heel is free to lift up from the rest of the binding. Most touring bindings also have heel risers (sometimes called “lifters”) that reduce calf strain on steeper climbs by elevating your heel.
2) Apply Skins Correctly
Skins should be centred, so the edges remain exposed for grip on firm snow. A good skin fit supports both climbing traction and sidehilling control.
3) Use Efficient Movement: Small Steps, Steady Cadence
- Short stride: Prevents slipping and saves energy.
- Flat ski: Maximizes skin contact with the snow.
- Consistent pace: Aim for a speed you can sustain without frequent stops.
Backcountry touring rewards patience. Going slower but steadier usually gets you farther with more energy for your turns on the descent.
4) Master Kick Turns
When the skin track switchbacks, you’ll use kick turns to reverse direction without losing balance. The basic idea: plant your poles, lift the uphill ski to rotate it around, set it down, then bring the other ski through to continue your trek.
5) Understand Track Setting (Angle Matters)
A good skin track avoids being too steep. If it’s too steep, you’ll slip and waste energy; too mellow, and you’ll add distance. Many tourers aim for an angle that balances traction and directness while avoiding hazards like terrain traps and loaded slopes.
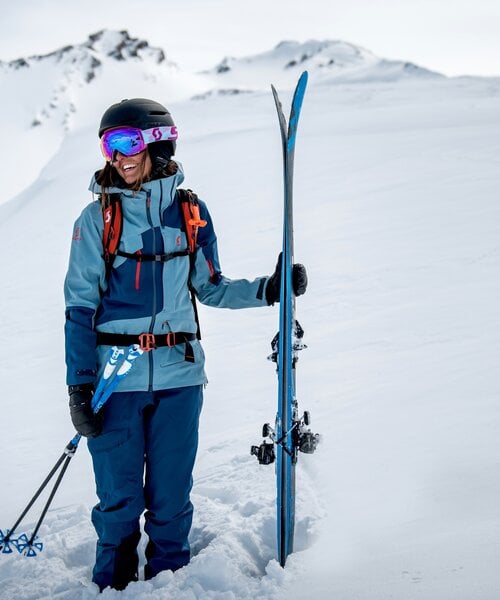
Transition Time: From Uphill Mode to Downhill Mode
Transitions are the “pit stop” of touring. A smooth transition keeps you warmer, saves time, and reduces mistakes.
Typical Transition Checklist
- Step into a safe spot: out of overhead hazards and away from cornices or wind-loaded start zones.
- Remove skins: Peel from tail to tip and pack them to keep glue warm and dry.
- Switch bindings to ski mode: Lock the heel down for descending.
- Adjust boots: Close buckles/power strap and switch the boot to ski mode for support.
- Layer up: Add a puffy or shell before you cool down.
- Plan the descent: Identify safe zones, islands of safety, and where regrouping will happen.
Learning how backcountry skiing works means treating transitions as a safety moment, not just a gear change. Many dangerous scenarios start with rushed decisions at the top before a descent.
Skinning Downhill: When (and How) It Happens
Most of the time, you remove skins to ski down. But there are situations where skinning downhill makes sense, especially when the terrain is rolling, low-angle, or when you need controlled movement more than speed.
Why Skinning Downhill Is Useful
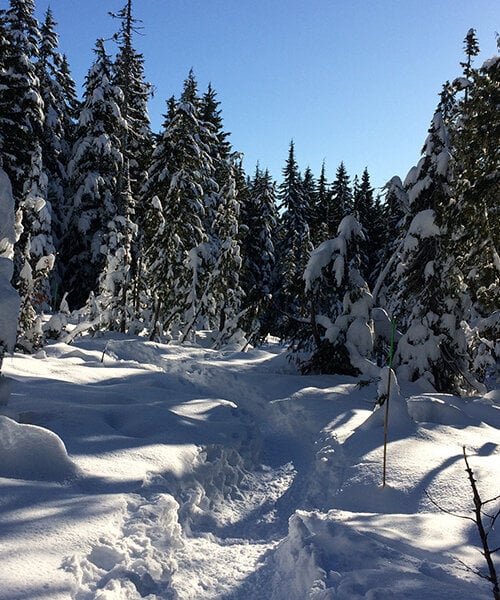
- Low-angle exits: Forest roads or mellow meadows where skiing would mean pushing and skating.
- Variable or breakable crust: Skins can add control and reduce unwanted acceleration.
- Navigation or safety: In tight trees or complex terrain, controlled downhill travel can be helpful.
Tips for Skinning Downhill Safely
- Keep skis flatter: Let the skins provide predictable friction.
- Stay centred: Avoid leaning too far back, otherwise known as “getting in the backseat,” since it makes turning harder.
- Use a wider stance: Helps with stability, especially in ruts or inconsistent snow.
- Manage speed early: Skins slow you down, but steep pitches can still get fast.
Think of skinning downhill as a tactical tool: it’s not the classic goal, but it’s part of the bigger backcountry skill set you will need to learn.
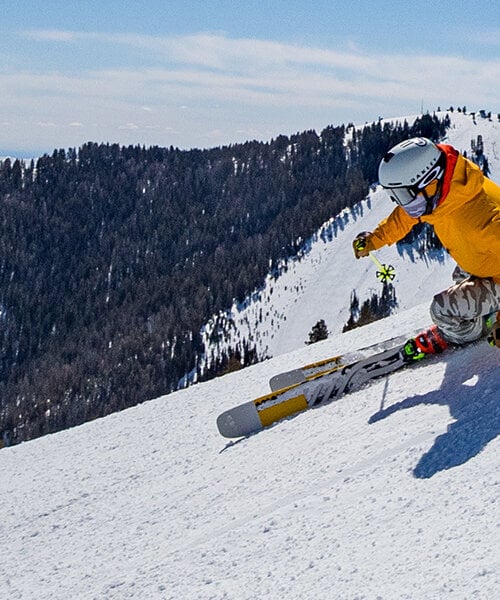
Skiing Down: What Changes in the Backcountry?
The downhill is why most people tour, but it’s also where conditions can be the most unpredictable. Backcountry snow ranges from perfect powder to windboard, crust, heavy chop, or breakable layers in a single run.
How Backcountry Descents Typically Work
- One at a time: In avalanche terrain, groups often ski one at a time between safe spots to reduce exposure.
- Communication: Clear signals for “dropping,” “safe,” and “stop.” Radios can help in wind or trees.
- Terrain management: Avoiding terrain traps (gullies, creek beds) and choosing lines with safer runouts.
Technique Adjustments for Variable Snow
- Stay adaptable: Adjust turn shape and speed as snow changes.
- Prioritize balance: A strong, centred stance helps in crust and chop.
- Plan where you’ll stop: Choose islands for safety away from overhead hazards.
Avalanche Safety Gear and Skills: The Backcountry Baseline
Carrying avalanche safety gear is only one piece of avalanche safety. The other pieces are education, planning, and safe decision-making.
Before You Go: Planning and Forecasts
- Read the avalanche bulletin: Pay attention to the danger rating, avalanche problems, and aspect/elevation notes.
- Check weather: Wind and new snow can rapidly change stability.
- Choose an appropriate objective: Match terrain to the day’s hazard and your group’s skill level.
At the Trailhead: Partner Checks
Do a beacon check to ensure everyone transmits and receives. Ensure that your shovel and probe are easily accessible and not buried under other items in your pack. Talk with the rest of your group on how you will communicate and space yourselves out.
Practice Rescue Regularly
In an avalanche rescue, time is critical. Practice:
- Beacon search: signal search, coarse search, fine search.
- Probing: Efficient probing patterns and confirmation.
- Strategic shovelling: Fast excavation techniques (often the slowest part).
If you’re new, consider an avalanche course with field days. Training helps you understand not just rescue but also how to avoid needing rescue in the first place.
Common Beginner Mistakes (and How to Avoid Them)
- Overheating on the uphill: Start cool, remove layers early, and manage sweat.
- Setting too-steep tracks: Keep the skin track efficient to prevent slipping and fatigue.
- Rushing transitions: Use a consistent checklist so you don’t forget a binding mode or boot lever.
- Ignoring the forecast: Terrain selection should follow conditions, not ambition.
- Buying gear without a plan: Choose gear that matches your terrain, goals, and snowpack, not just what’s lightest.
Backcountry Skiing Checklist: What to Pack
- Touring skis, bindings, boots
- Skins + skin saver (optional) + wax (optional for sticky snow)
- Adjustable poles
- Avalanche safety gear: beacon, probe, shovel (plus practice)
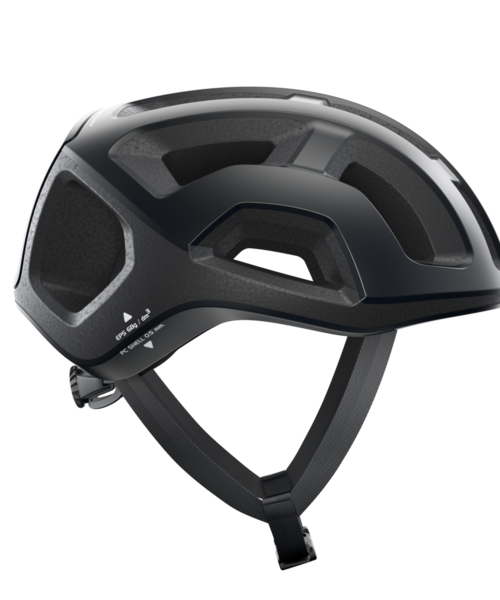
- Helmet
- Layers: base, mid, shell, insulation, extra gloves
- Food and water (more than you think you’ll need)
- Navigation tools
- First aid + repair kit + headlamp
Ready to Start Touring? Gear Up and Get Outside safely.
Once you understand how backcountry skiing works, from skinning uphill efficiently to smart transitions to the option of skinning downhill in the right situations, you’re ready to build skills one tour at a time. The final ingredient is preparation: the right equipment, the right partners, and the right mindset around terrain and conditions.
Next step: If you’re building your first touring setup, start with the piece that matters most for comfort and control: your boots. Explore our ski boots to see resort- and backcountry-friendly options, then visit Westside Sports in Vancouver for expert boot fitting and advice on walk modes, flex, and fit for touring.
Upgrade your setup for your next tour with the right skis, skins, and avalanche safety gear, and if you’re not sure what fits your goals, drop by the shop or contact our team for personalized recommendations so you can tour more efficiently and ski down with confidence.